Linux Centos6.5 2.6.32-431.el6.x86_64 (简称 Centos 6.5)
1.1 服务器端redmine版本
redmine-3.0.3.tar.gz
2 服务器端安装redmine软件
2.1 安装依赖包
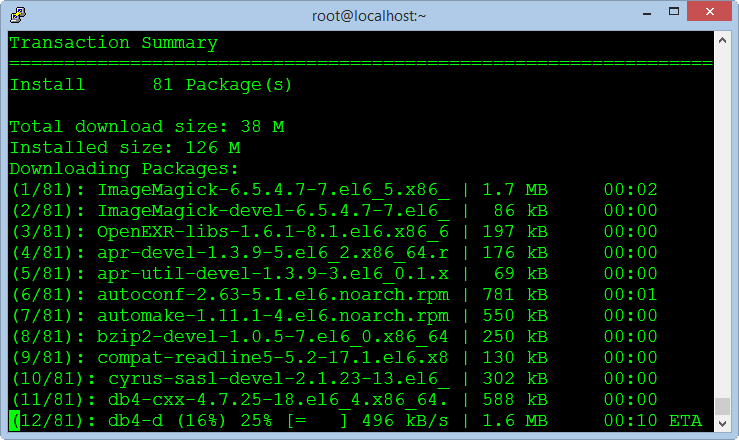
yum -y install nano zip unzip libyaml-devel zlib-devel curl-devel openssl-devel httpd-devel apr-devel apr-util-devel mysql-devel gcc ruby-devel gcc-c++ make postgresql-devel ImageMagick-devel sqlite-devel perl-LDAP mod_perl perl-Digest-SHA
|
2.2 安装 Apache and MySQL
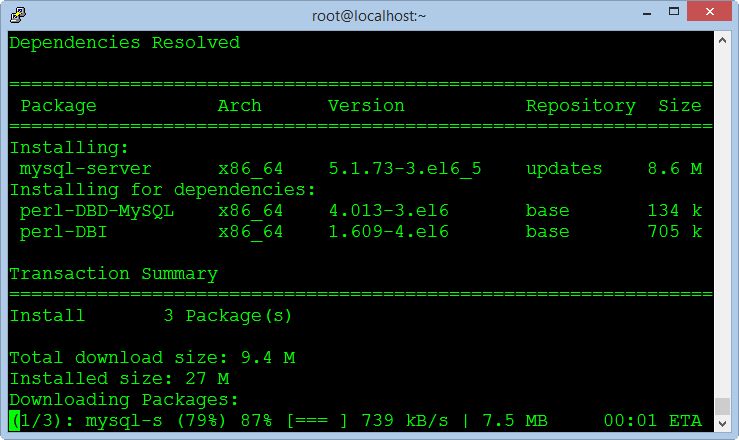
yum -y install httpd mysql mysql-server
chkconfig mysqld on
service httpd start
service mysqld start
|
2.3 关闭SELinux和iptables
Vi /etc/selinux/config Change the file content : SELINUX=disabled
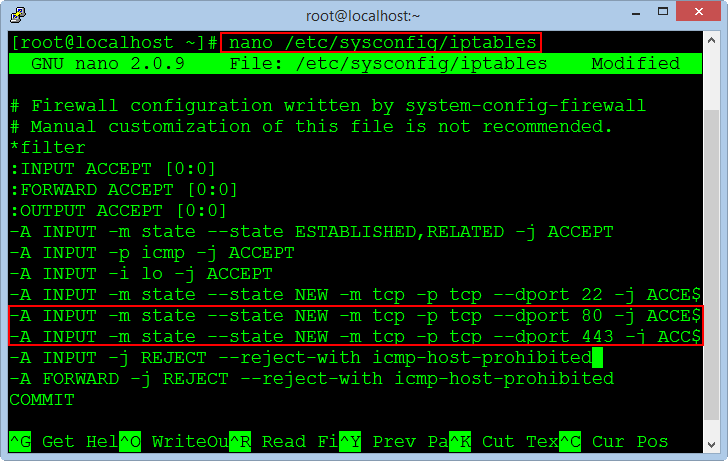
Press Enter to create a new line after the line of port 22, copy the following two commands and right click on the window to the Paste command. -A INPUT -m state --state NEW -m tcp -p tcp --dport 80 -j ACCEPT
-A INPUT -m state --state NEW -m tcp -p tcp --dport 443 -j ACCEPT
Press CTRL + O to save the file and press CTRL + X to exit. The same applies for IP6 firewall : nano /etc/sysconfig/ip6tables
Add these lines to the file. -A INPUT -m state --state NEW -m tcp -p tcp --dport 80 -j ACCEPT
-A INPUT -m state --state NEW -m tcp -p tcp --dport 443 -j ACCEPT
After you finish editing both files, run the commands to apply the new rules for firewall. /etc/init.d/iptables restart
/etc/init.d/ip6tables restart
Allow turn on the firewall when reboot the operating system. chkconfig iptables on
chkconfig ip6tables on
Finally, we need to restart the system to apply the changes to the SELinux and Hostname. reboot
|

2.4 安装PHP
yum -y install php php-mysql php-gd php-imap php-ldap php-mbstring php-odbc php-pear php-xml php-xmlrpc php-pecl-apc php-soap
service httpd restart
|
2.5 安装ruby
|
ruby下载:https://www.ruby-lang.org/en/downloads/ tar zxvf ruby-2.2.2.tar.gz cd ruby-2.2.2 #./configure --prefix=/usr/local/ruby #make && make install vim /etc/profile export PATH=/usr/local/ruby/bin:$PATH
|
2.6 修改rubygems
|
rubygems下载:https://rubygems.org/pages/download #tar zxvf rubygems-2.4.7.tar #cd rubygems-2.4.7 #ruby setup.rb #gem -v 更改gem source源
$ gem sources --remove https://rubygems.org/ ~ |
2.7 安装gem包
|
gem install rails gem install rails ruby-mysql i18n mysql2 等等 bundle install --without development test rmagick 时会显示所需要安装的包 (如果提示无法连接,可以更改Gemfile中的http源,Gemfile在操作5的redmine文件夹中)
|
2.8 Mysql创建database
|
CREATE DATABASE redmine CHARACTER SET utf8 COLLATE utf8_general_ci; |
2.9 安装passenger
gem install passenger
passenger-install-apache2-module
LoadModule passenger_module /usr/local/rvm/gems/ruby-1.9.3-p545/gems/passenger-4.0.37/buildout/apache2/mod_passenger.so
<IfModule mod_passenger.c>
PassengerRoot /usr/local/rvm/gems/ruby-1.9.3-p545/gems/passenger-4.0.37
PassengerDefaultRuby /usr/local/rvm/gems/ruby-1.9.3-p545/wrappers/ruby
</IfModule>
Create a new virtual host file for Passenger : nano /etc/httpd/conf.d/passenger.conf
Paste the command blocks into the empty file and save it, then restart the Apache service. service httpd restart
|

2.10安装redmine
|
redmine下载:http://www.redmine.org/projects/redmine/wiki/Download cd /var/www
tar xvfz redmine-3.0.3.tar.gz
cd /var/www/redmine-3.0.3/config
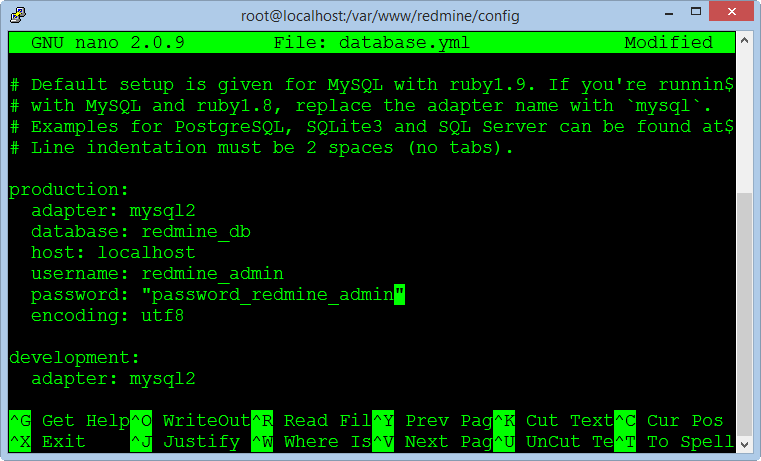
cp database.yml.example database.yml
vi database.yml
|
2.11Setting up Rails
cd /var/www/redmine-3.0.3 gem install bundler
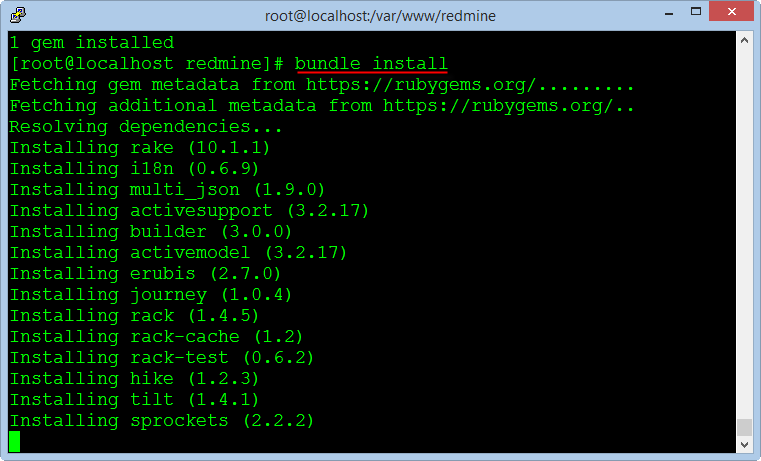
bundle install
rake generate_secret_token
RAILS_ENV=production rake db:migrate
RAILS_ENV=production rake redmine:load_default_data
|
2.12 Activate FCGI
cd /var/www/redmine-3.0.3/public
mkdir plugin_assets
cp dispatch.fcgi.example dispatch.fcgi
cp htaccess.fcgi.example .htaccess
|
2.13 Setting up Apache and FastCGI
cd /var/www/
rpm --import https://fedoraproject.org/static/0608B895.txt wget http://dl.fedoraproject.org/pub/epel/6/x86_64/epel-release-6-8.noarch.rpm rpm -ivh epel-release-6-8.noarch.rpm
yum -y install mod_fcgid
rm -rf epel-release-6-8.noarch.rpm
|
2.14Creating Files Directory
mkdir -p /opt/redmine/files
chown -R apache:apache /opt/redmine
cd /var/www/redmine/config
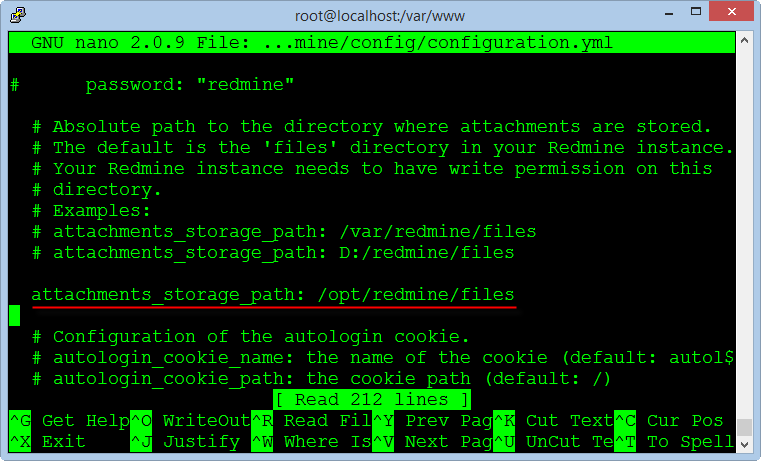
cp configuration.yml.example configuration.yml
nano configuration.yml
Enter the directory path containing the data files you just created in the previous step into the line "attachments_storage_path". Note: You must add a space at the begin of the path "/opt/redmine/files" after character ":"
|
2.15 创建Virtual Host for Redmine
vi /etc/httpd/conf.d/redmine.conf
Copy the text below and paste into the editor window, note the information to change your domain name. <VirtualHost *:80>
ServerName your_domain
ServerAdmin your_domain@domain.com
DocumentRoot /var/www/redmine/public/
ErrorLog logs/redmine_error_log
<Directory "/var/www/redmine/public/">
Options Indexes ExecCGI FollowSymLinks
Order allow,deny
Allow from all
AllowOverride all
</Directory>
</VirtualHost>
Save the file configuration and exit.
|
2.16Running Redmine
|
Before execute Redmine in the first time, we must permission for the directory installed Redmine and restart Apache service. cd /var/www
chown -R apache:apache redmine
chmod -R 755 redmine
service httpd restart
Redmine will run at the following address URL : Login to system with an administrator account : admin / admin You can change your password after successful login. We can see Redmine has running but very primitive, in the next steps we will install the support plugins and customized Redmine to use professional.
|

3 安装subversion
|
Subversion, also known as SVN, it is a version management system is very popular and easy to use, most programmers can use it competently. We need to create a folder to store data for Redmine, the following command creates a directory and permissions for the Apache service. mkdir -p /opt/repositories/svn chown -R apache:apache /opt/repositories/ chmod 0755 /opt/repositories The following command install Subversion and the packages : yum install mod_dav_svn subversion subversion-ruby
The next, we will create a directory and copy the file called "Redmine.pm", it responsible for interface data repository with Redmine and it is written by Perl language programming. mkdir /usr/lib64/perl5/vendor_perl/Apache ln -s /var/www/redmine/extra/svn/Redmine.pm /usr/lib64/perl5/vendor_perl/Apache/Redmine.pm Note : If you are using 32 bit Centos, change the path "/usr/lib64" to "/usr/lib" After installation is complete, from the Redmine application, go to the page Administration> Settings> Repositories to check the results. To support the authentication and access to data repository for each member, we need to create a virtual host for the Apache service can access Redmine database. nano /etc/httpd/conf.d/subversion.conf Add the following lines to the end and still retain the old contents of the file : PerlLoadModule Apache::Redmine <Location /svn> DAV svn SVNParentPath "/opt/repositories/svn" SVNListParentPath on Order deny,allow Deny from all Satisfy any LimitXMLRequestBody 0 SVNPathAuthz off PerlAccessHandler Apache::Authn::Redmine::access_handler PerlAuthenHandler Apache::Authn::Redmine::authen_handler AuthType Basic AuthName "Subversion Repository" Require valid-user RedmineDSN "DBI:mysql:database=redmine_db;host=localhost:3306" RedmineDbUser "redmine_admin" RedmineDbPass "your_password_database_redmine" </Location> Note : You need to change the password in the "RedmineDbPass" to correct the database password of Redmine. At this point, we have finished the basic settings for Redmine. Thank you!
|

附:邮件集成。
在/data/redmine-3.0.3/config下
修改configuration.yml文件
添加:
|
delivery_method: :sendmail smtp_settings: address: "123.59.46.251" port: 25 authentication: :plain domain: 'phzc.com' user_name: 'yunwei' password: 'Yunwei@phzc12345678' |
然后,重启redmine服务,即httpd,因为redmine和http已经集成到一起了。