您需要知道的
- 本篇为 ORACLE 19c 版本在 RHEL 8.2 上进行的 Single Instance File System (SIFS)单实例文件系统搭建
- 您可在 甲骨文官网或 交付云网站进行 ORACLE 19c 数据库软件的下载试用
- 您需要熟悉如何去搭建 Linux 操作系统,可参考 G005-OS-INS-02 一文完成此操作
- 您需要有 Linux 使用经验,这是基础,也是每位 IT 从业者需要的必备技能
1 主机环境准备
1.1 实验系统规划
| 磁盘名称 | 磁盘大小 | 分区目录 | 分区大小 | 作用 |
|---|---|---|---|---|
| /dev/nvme0n1 | 50 G | /boot | 500 M | 引导分区 |
| /dev/nvme0n1 | 50 G | swap | 8192 M | 交换分区 |
| /dev/nvme0n1 | 50 G | / | 41.5 G | 根分区 |
| /dev/nvme0n2 | 50 G | /oracle | 50 G | DB软件及数据库 |
1.2 操作系统安装(略)
- 您可参考 G005-OS-INS-02 一文完成此操作
1.3 创建文件系统
1.3.1 分区
- 对磁盘 /dev/nvme0n2 进行分区
[root@henry ~]# fdisk -l
[root@henry ~]# fdisk /dev/nvme0n2
Welcome to fdisk (util-linux 2.32.1).
Changes will remain in memory only, until you decide to write them.
Be careful before using the write command.
Device does not contain a recognized partition table.
Created a new DOS disklabel with disk identifier 0x4ad9ce65.
Command (m for help): n
Partition type
   p   primary (0 primary, 0 extended, 4 free)
   e   extended (container for logical partitions)
Select (default p):
Using default response p.
Partition number (1-4, default 1):
First sector (2048-104857599, default 2048):
Last sector, +sectors or +size{K,M,G,T,P} (2048-104857599, default 104857599):
Created a new partition 1 of type 'Linux' and of size 50 GiB.
Command (m for help): w
The partition table has been altered.
Calling ioctl() to re-read partition table.
Syncing disks.
[root@henry ~]# fdisk -l
Disk /dev/nvme0n1: 50 GiB, 53687091200 bytes, 104857600 sectors
Units: sectors of 1 * 512 = 512 bytes
Sector size (logical/physical): 512 bytes / 512 bytes
I/O size (minimum/optimal): 512 bytes / 512 bytes
Disklabel type: dos
Disk identifier: 0xdd754cd9
Device         Boot    Start       End  Sectors  Size Id Type
/dev/nvme0n1p1 *        2048   1026047  1024000  500M 83 Linux
/dev/nvme0n1p2       1026048  17803263 16777216    8G 82 Linux swap / Solaris
/dev/nvme0n1p3      17803264 104857599 87054336 41.5G 83 Linux
Disk /dev/nvme0n2: 50 GiB, 53687091200 bytes, 104857600 sectors
Units: sectors of 1 * 512 = 512 bytes
Sector size (logical/physical): 512 bytes / 512 bytes
I/O size (minimum/optimal): 512 bytes / 512 bytes
Disklabel type: dos
Disk identifier: 0x4ad9ce65
Device         Boot Start       End   Sectors Size Id Type
/dev/nvme0n2p1       2048 104857599 104855552  50G 83 Linux
1.3.2 格式化
- 对 /dev/nvme0n2p1 分区进行格式化
[root@henry ~]# mkfs.xfs /dev/nvme0n2p1
meta-data=/dev/nvme0n2p1         isize=512    agcount=4, agsize=3276736 blks
         =                       sectsz=512   attr=2, projid32bit=1
         =                       crc=1        finobt=1, sparse=1, rmapbt=0
         =                       reflink=1
data     =                       bsize=4096   blocks=13106944, imaxpct=25
         =                       sunit=0      swidth=0 blks
naming   =version 2              bsize=4096   ascii-ci=0, ftype=1
log      =internal log           bsize=4096   blocks=6399, version=2
         =                       sectsz=512   sunit=0 blks, lazy-count=1
realtime =none                   extsz=4096   blocks=0, rtextents=0
1.3.3 挂载
- 将格式化后的分区 /dev/nvme0n2p1 挂载至 /oracle 目录
[root@henry ~]# mkdir /oracle
[root@henry ~]# mount /dev/nvme0n2p1 /oracle
[root@henry ~]# df -Th
Filesystem     Type      Size  Used Avail Use% Mounted on
devtmpfs       devtmpfs  3.9G     0  3.9G   0% /dev
tmpfs          tmpfs     3.9G     0  3.9G   0% /dev/shm
tmpfs          tmpfs     3.9G   10M  3.9G   1% /run
tmpfs          tmpfs     3.9G     0  3.9G   0% /sys/fs/cgroup
/dev/nvme0n1p3 xfs        42G  5.3G   37G  13% /
/dev/nvme0n1p1 xfs       495M  198M  298M  40% /boot
tmpfs          tmpfs     795M  1.2M  794M   1% /run/user/42
tmpfs          tmpfs     795M  4.6M  790M   1% /run/user/0
/dev/sr0       iso9660   7.9G  7.9G     0 100% /run/media/root/RHEL-8-2-0-BaseOS-x86_64
/dev/nvme0n2p1 xfs        50G  390M   50G   1% /oracle
1.3.4 开机自启
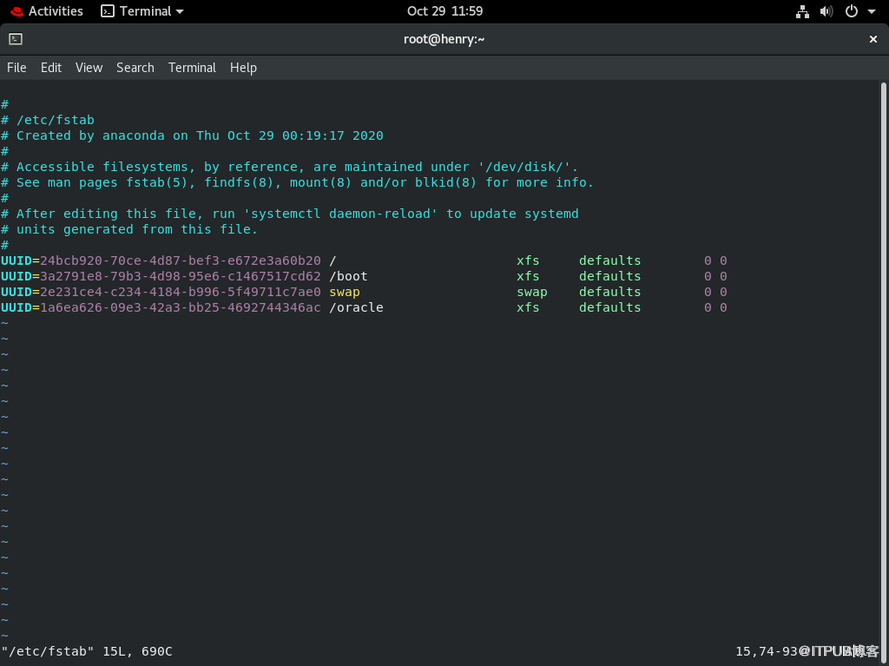
- 为保证操作系统重启后,挂载的分区路径依然有效,可将信息写入开机自启配置文件 /etc/fstab 中
[root@henry ~]# blkid /dev/nvme0n2p1
/dev/nvme0n2p1: UUID="1a6ea626-09e3-42a3-bb25-4692744346ac" TYPE="xfs" PARTUUID="4ad9ce65-01"
# 将分区获取到的 UUID 写入 /etc/fstab 文件中
[root@henry ~]# vim /etc/fstab
# 添加以下行
UUID=1a6ea626-09e3-42a3-bb25-4692744346ac /oracle    xfs   defaults   0  0
1.4 关闭防火墙
- 如已关闭,跳过本小节
systemctl stop firewalld.service
systemctl disable firewalld.service
1.5 禁用SELinux
- 如已禁用,跳过本小节
setenforce 0
# 编辑 /etc/selinx/config
SELINUX=disabled
1.6 配置 HOSTS 文件
- 编辑 /etc/hosts 文件,添加 IP 地址及主机名
echo "192.168.1.82 henry" >> /etc/hosts
1.7 配置内核参数
- 编辑 /etc/sysctl.conf 文件,添加内核参数
fs.file-max = 6815744
kernel.sem = 250 32000 100 128
kernel.shmmni = 4096
kernel.shmall = 1887436
kernel.shmmax = 7730941132
kernel.panic_on_oops = 1
net.core.rmem_default = 262144
net.core.rmem_max = 4194304
net.core.wmem_default = 262144
net.core.wmem_max = 1048576
net.ipv4.conf.all.rp_filter = 2
net.ipv4.conf.default.rp_filter = 2
fs.aio-max-nr = 1048576
net.ipv4.ip_local_port_range = 9000 65500
- 使之生效
/sbin/sysctl -p
1.8 限制用户资源
- 编辑 /etc/security/limits.conf 文件,添加资源限制
oracle   soft   nofile    1024
oracle   hard   nofile    65536
oracle   soft   nproc    16384
oracle   hard   nproc    16384
oracle   soft   stack    10240
oracle   hard   stack    32768
# 若内存小于8G,大内存页配置可忽略
#oracle   hard   memlock    134217728
#oracle   soft   memlock    134217728
1.9 配置YUM源
RHEL 8 版本的 YUM 仓库分为两个部分
BaseOS 为操作系统底层提供的基础安装包
AppStream 应用程序流为应用程序、语言运行库和数据库提供安装包
- 编辑创建 /etc/yum.repos.d/henry.repo
mount /dev/cdrom /mnt
cd /etc/yum.repos.d/
mv redhat.repo redhat.repo.bak
echo "[henry_baseos]" >> henry.repo
echo "name=19cbaseos" >> henry.repo
echo "baseurl=file:///mnt/BaseOS/" >> henry.repo
echo "enabled=1" >> henry.repo
echo "gpgcheck=0" >> henry.repo
echo "[henry_appstream]" >> henry.repo
echo "name=19cappstream" >> henry.repo
echo "baseurl=file:///mnt/AppStream/" >> henry.repo
echo "enabled=1" >> henry.repo
echo "gpgcheck=0" >> henry.repo
- 运行检查yum仓库
yum repolist all
[root@henry yum.repos.d]# yum repolist all
Updating Subscription Management repositories.
Unable to read consumer identity
This system is not registered to Red Hat Subscription Management. You can use subscription-manager to register.
repo id                 repo name                                     status
henry_appstream         19cappstream                                  enabled
henry_baseos            19cbaseos                                     enabled
1.10 RPM包安装
dnf install -y bc
dnf install -y binutils
dnf install -y compat-libstdc++-33
dnf install -y elfutils-libelf
dnf install -y elfutils-libelf-devel
dnf install -y fontconfig-devel
dnf install -y glibc
dnf install -y glibc-devel
dnf install -y ksh
dnf install -y libaio
dnf install -y libaio-devel
dnf install -y libXrender
dnf install -y libXrender-devel
dnf install -y libX11
dnf install -y libXau
dnf install -y libXi
dnf install -y libXtst
dnf install -y libgcc
dnf install -y librdmacm-devel
dnf install -y libstdc++
dnf install -y libstdc++-devel
dnf install -y libxcb
dnf install -y make
dnf install -y net-tools # Clusterware
dnf install -y nfs-utils
dnf install -y python
dnf install -y python-configshell
dnf install -y python-rtslib
dnf install -y python-six
dnf install -y targetcli
dnf install -y smartmontools
dnf install -y sysstat
dnf install -y unixODBC
dnf install -y libnsl2
dnf install -y libnsl2.i686
dnf install -y lrzsz
dnf install -y libnsl
1.11 创建用户和组
groupadd -g 54321 oinstall
groupadd -g 54322 dba
groupadd -g 54323 oper
useradd -u 54321 -g oinstall -G dba,oper oracle
# 更改 `oracle` 用户密码
passwd oracle
1.12 创建目录及授权
mkdir -p /oracle/app/oracle/product/19.0.0/dbhome_1
mkdir /oracle/soft
chown -R oracle:oinstall /oracle
chmod -R 775 /oracle
1.13 配置oracle用户环境变量
如果不使用 cat 命令,则需要去除 $ 符号前面的转移字符
\
mkdir /home/oracle/scripts
cat > /home/oracle/scripts/setEnv.sh <> /home/oracle/.bash_profile
# 切换 oracle 用户,查看环境
su - oracle
env |grep ORACLE
2 数据库软件安装
2.1 解压
从 ORACLE 18c 版本开始,您必须把压缩文件解压到 $ORACLE_HOME 里面
[root@henry ~]# chown -R oracle:oinstall /oracle
[root@henry ~]# chmod -R 775 /oracle
[root@henry ~]# su - oracle
[oracle@henry ~]$ cd $ORACLE_HOME
[oracle@henry dbhome_1]$ unzip -q /oracle/soft/LINUX.X64_193000_db_home.zip
2.2 设置版本兼容
当前 RHEL 8 如不设置版本兼容,则会报 [INS-08101]错误
[oracle@henry dbhome_1]$ export CV_ASSUME_DISTID=RHEL7.6
2.3 执行安装
- oracle 用户执行以下脚本
# 图形安装
./runInstaller
# 静默安装
./runInstaller -ignorePrereq -waitforcompletion -silent \
-responseFile /oracle/app/oracle/product/19.0.0/dbhome_1/install/response/db_install.rsp \
oracle.install.option=INSTALL_DB_SWONLY \
ORACLE_HOSTNAME=henry \
UNIX_GROUP_NAME=oinstall \
INVENTORY_LOCATION=/oracle/app/oraInventory \
SELECTED_LANGUAGES=en,en_GB \
ORACLE_HOME=/oracle/app/oracle/product/19.0.0/dbhome_1 \
ORACLE_BASE=/oracle/app/oracle \
oracle.install.db.InstallEdition=EE \
oracle.install.db.OSDBA_GROUP=dba \
oracle.install.db.OSOPER_GROUP=oper \
oracle.install.db.OSBACKUPDBA_GROUP=dba \
oracle.install.db.OSDGDBA_GROUP=dba \
oracle.install.db.OSKMDBA_GROUP=dba \
oracle.install.db.OSRACDBA_GROUP=dba \
SECURITY_UPDATES_VIA_MYORACLESUPPORT=false \
DECLINE_SECURITY_UPDATES=true
2.4 执行脚本
- root 用户执行以下脚本
/oracle/app/oraInventory/orainstRoot.sh
/oracle/app/oracle/product/19.0.0/dbhome_1/root.sh
3 创建监听
# 停止默认监听
lsnrctl stop
# 图形创建
netca
# 静默创建
netca -silent -responseFile /oracle/app/oracle/product/19.0.0/dbhome_1/assistants/netca/netca.rsp
4 创建数据库
4.1 建库
- oracle 用户执行以下脚本
# 启动监听
lsnrctl start
# 图形创建
dbca
# 静默创建
dbca -silent -createDatabase -templateName General_Purpose.dbc \
-gdbname CDB1 \
-sid CDB1 \
-databaseConfigType SI \
-createAsContainerDatabase TRUE \
-numberOfPDBs 1 \
-pdbName PDB1 \
-useLocalUndoForPDBs TRUE \
-pdbAdminPassword oracle \
-sysPassword oracle \
-systemPassword oracle \
-characterSet AL32UTF8 \
-memoryPercentage 30
4.2 登录
[oracle@henry ~]$ sqlplus / as sysdba
SQL*Plus: Release 19.0.0.0.0 - Production on Thu Oct 29 14:30:59 2020
Version 19.3.0.0.0
Copyright (c) 1982, 2019, Oracle.  All rights reserved.
Connected to:
Oracle Database 19c Enterprise Edition Release 19.0.0.0.0 - Production
Version 19.3.0.0.0
SQL> select status from v$instance;
STATUS
------------
OPEN
SQL> select name from v$database;
NAME
---------
CDB1
SQL> select banner_full from v$version;
BANNER_FULL
--------------------------------------------------------------------------------
Oracle Database 19c Enterprise Edition Release 19.0.0.0.0 - Production
Version 19.3.0.0.0
SQL> show pdbs
    CON_ID CON_NAME               OPEN MODE  RESTRICTED
---------- ---------------------- ---------- ----------
     2     PDB$SEED               READ ONLY  NO
     3     PDB1                   READ WRITE NO
4.3 添加启动/关闭数据库服务脚本(可选)
如果不使用 cat 命令,则需要去除 $ 符号前面的转移字符
\
- 启库脚本
cat > /home/oracle/scripts/start_all.sh <
- 关库脚本
cat > /home/oracle/scripts/stop_all.sh <
- 授权
chown -R oracle:oinstall /home/oracle/scripts
chmod u+x /home/oracle/scripts/*.sh
- 编辑 /etc/oratab 文件,将启动标志设置为 Y
vim /etc/oratab
CDB1:/oracle/app/oracle/product/19.0.0/dbhome_1:Y
- oracle用户调用脚本
~/scripts/start_all.sh
~/scripts/stop_all.sh
[End]